Sometimes we want to create a tutorial where it is not necessary for the teacher to appear, we want to make a podcast, or we simply do not have a camera of sufficient quality to record ourselves. There are many reasons to only record a voice-over.
The teacher's voice is one of the main pillars of our course. If our explanations are not heard well, our students will not learn. That is why it is important to have a lot of care during the recording of the audio.
We share with you a series of tips that will surely give quality to your voice-over.
The voice-over script
The script is essential to structure our online courses, so we must work it well. There is something very important to keep in mind, and that is that a text can be very well written, but it might not be suitable to be spoken.
All speech texts must follow a series of guidelines to make the listening user understanding easier:
- Write short and simple sentences. Those are not far-fetched phrases with subordinates that can make you lose the thread. In text, it is easy to look up to get references, but not in audio, that is why it is important that each sentence is focused on a single concept.
- Mark pauses. Similar to the previous point, it is better to write more periods than commas.
- Use active phrases. That is, try to use the subject at the beginning of the sentence and whenever possible.
- Repeat words. In a written text it can be wrong to constantly repeat the same word, but that does not happen in a locution. In fact, it is better to repeat important concepts, as it helps to contextualize and emphasize.
- Writing transitions between blocks will help position the student. Sometimes these transitions can be marked with video editing.
- Talk from you to you. Think that you are not in front of a class, but that you are speaking directly to your student.
The voice
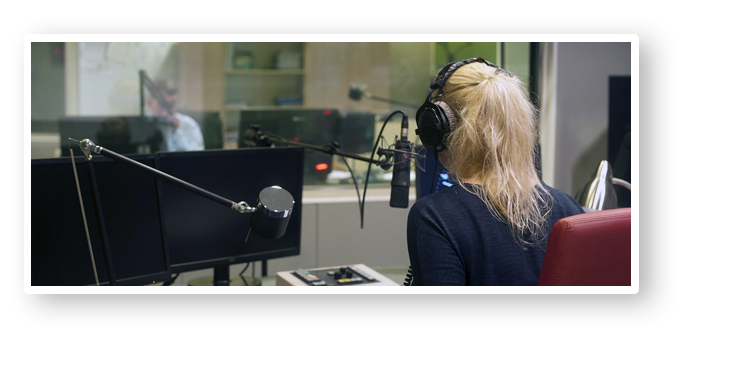
To record voice over, it is best to use a teleprompter (such as Cueprompter), this way it will not be necessary to memorize the script. But even if we use a teleprompter, if we do not take several aspects into account it is easy to notice that we are reading, and that can give an unprofessional image. Here are a series of tips to improve your voice over:
- Read the script aloud several times. Familiarize yourself with the content, mark with bold or colors the words that you must highlight and the pauses that you must make.
- Dynamic voice. To avoid being monotonous and boring audio, flex your voice to capture the student's attention and highlight key concepts. Practice beforehand to find the middle ground between a passionate and informative tone.
- Vocalize. Speak as if you were speaking in a large classroom, all the students, even the one in the background, must understand you. If there are difficult words in the course, write the pronunciation next to it.
- Repeat. It is normal to make a mistake or get stuck during the speech, it is not a problem. Repeat the phrase or paragraph as many times as necessary. Of course, leave a pause between repetitions so that later it is easier to cut in post-production.
- Hydrate yourself. Always have a bottle on hand. Talking for a long time is tiring and a hydrated voice sounds better.
Recording location
Finding a good place to record quality audio is important. If you do not have access to a professional recording studio, you should find a place that is isolated from noise and with good acoustics. In general, small places don’t have echoes, and using foam or duvets can isolate outside noise.
Keep in mind that while post-production can fix the recording, it can't work miracles. Sometimes it is difficult to isolate and eliminate noises that are mixed with the voice, so you have to be very careful when choosing the place.
Microphone
There are a wide variety of microphones on the market with different characteristics adapted for different needs. Let's see the most used for the voice over so that you can choose the one that best suits your environment.
- Condenser microphone. This type of microphone is the most used for studio voice recording, as it is very sensitive to sound and captures the voice very clearly and loudly. Even so, you must bear in mind that if you have to record in a space that is not well adapted, all the small noises will be heard. You should also know that they are very fragile microphones and very expensive to repair.
- Dynamic microphone. It is a very common, resistant and versatile microphone, but it is not that sensitive to sound pressure, so it must be used very close to the mouth and the audio must be enhanced in post-production. On the other hand, as it does not have as much power, it does not capture external noise so much so it is ideal if you do not have a recording studio.
To choose a good microphone, you also have to take into account the polar pattern, that is, from which parts it detects the sound:
- Cariode. This type of mic detects sound in a unidirectional way, just from the front of the microphone. It is ideal for recording voice-over without hearing noise from other parts, such as the click of the mouse or the noise of a window.
- Omnidirectional. As the name suggests, it picks up sound from all directions, so it is not highly recommended for recording vocals. Note that lavalier microphones are often omnidirectional.
- Bidirectional. These microphones detect sound only from the front and rear. It is used to record the voice of two people simultaneously, for example for a podcast.
To choose the microphone you must also take into account the connector if it is via USB or XLR connection, which in the latter case you will need an external audio interface.
Also, to avoid the “pops” that we do when we pronounce some consonants like p, we recommend that you use a filter to act as a noise diffuser.
Postproducción
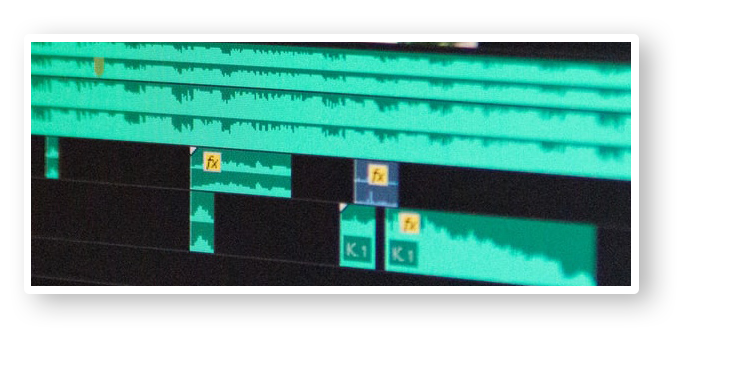
Post-production is ideal for retouching all those small imperfections that the audio may have, such as the balance of audio, noise or echo. Here is a list of programs that may be useful to you:
- Audacity (free)
- Windows Voice Recorder (Free / Windows)
- Garage Band (free / Mac)
- Adobe Audition
- Ardor
- Ocenaudio (Mac)
If during the recording you have taken into account these different tips that we have provided, you will be ready to upload your online course to your training platform.
And if you still don't have your own online school, at Foxize Cloud we offer you 1 free month so you can try our LMS platform and start uploading your courses.
